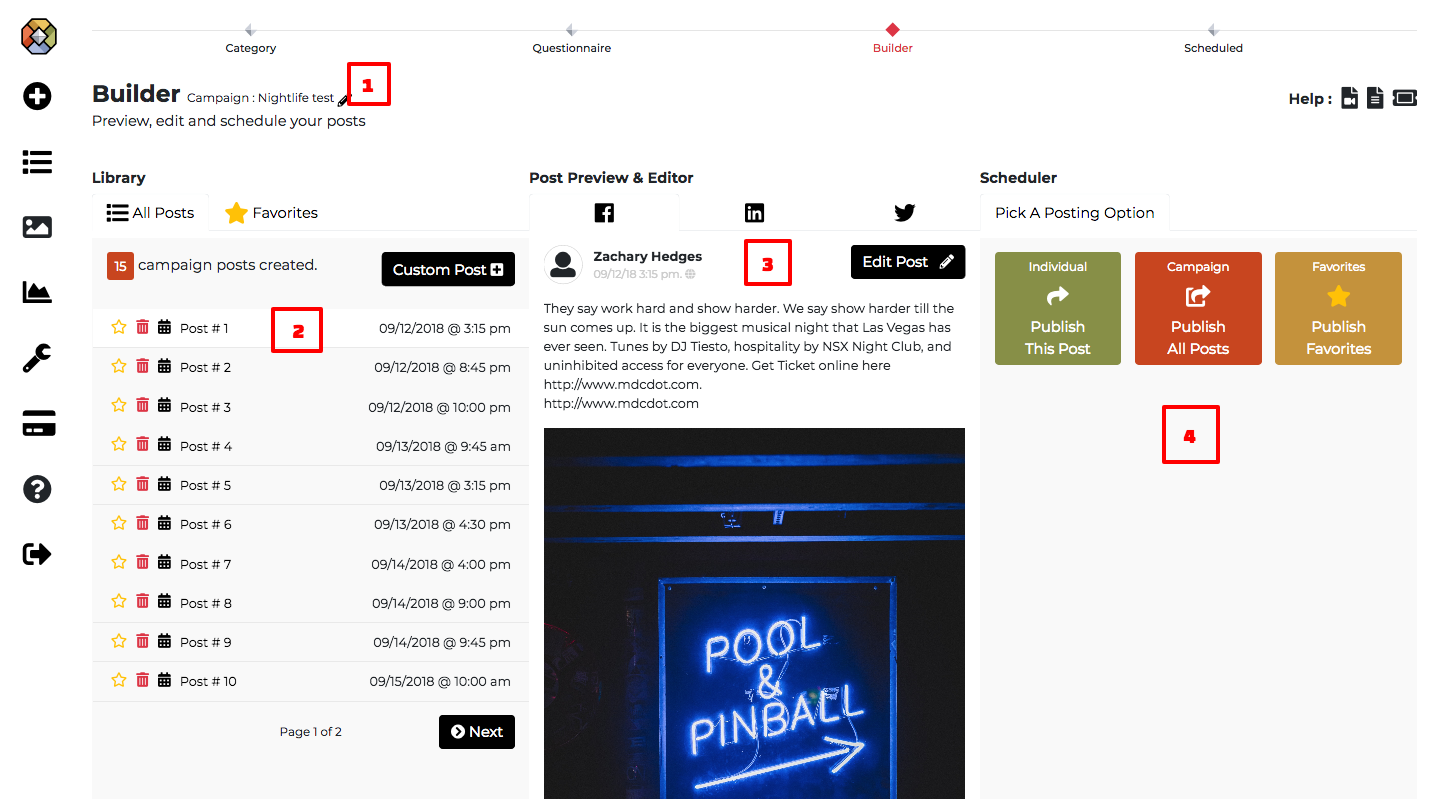
After you have built your campaign, you will land on the “Builder” page. The Builder page is where you edit the posts created and schedule your posts.
Click the “pencil” icon to change the name of your campaign.

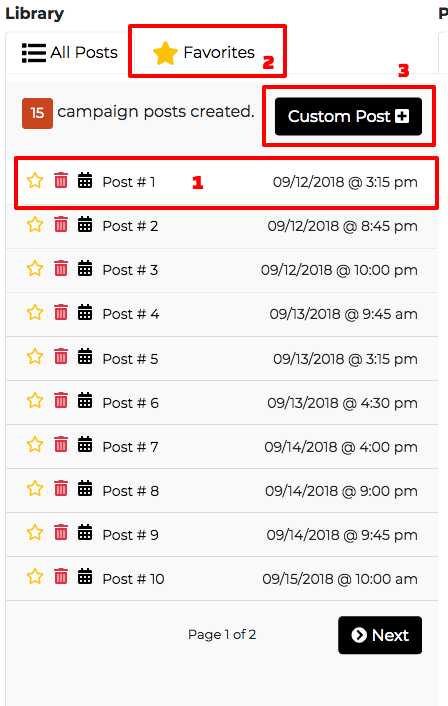
This section of the builder is where all posts that were created are shown to you.
1. You have the options to favorite a post by clicking the star icon, change it’s scheduled date and time by clicking the calendar icon, or removing the post from your list by clicking the trash icon.
2. Click this tab to see all of your favorite posts. This is a great way to favorite the ones you like from the library then go back to the questionnaire section and rebuild the campaign to get different results, your favorites from your previous builds will be there so you can construct the perfect campaign for your needs.
3. Click this button to create a custom post from scratch.
Note: When you add a new post or change the date of a post, and time the list will reorder itself.
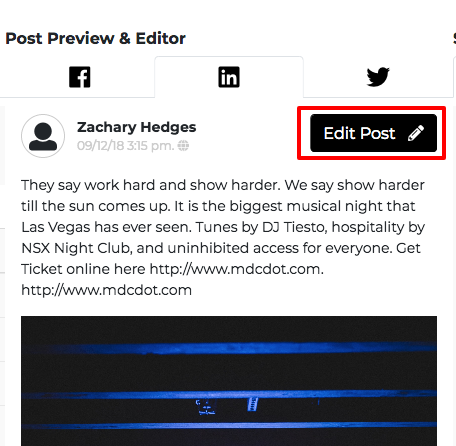
In this section, you can preview the post and make edits to the post by clicking the “Edit Post” button. Your options to edit the post are to edit the text, add/remove the image, and create/edit the graphics of the image which opens up our image graphics editor.
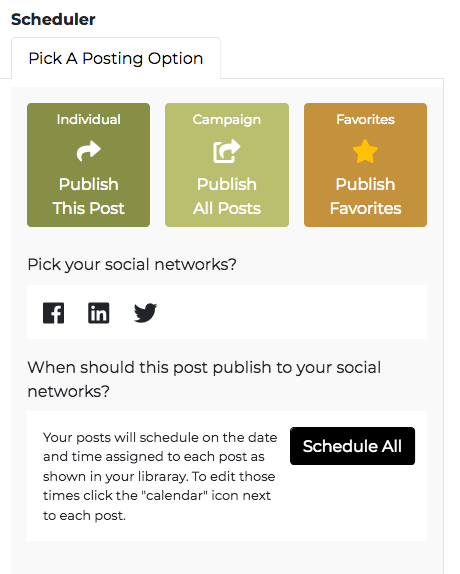
Scheduler section allows you to publish your posts with three options:
Individual – Publish the individual post you have in your Post Preview & Editor section.
Campaign – Publish all posts that are in the “All Posts” section in the library.
Favorites – Publish all posts that are in your “Favorites” section in the library.